cybersecurity and biomedical technology research for healthcare

2023 Badges
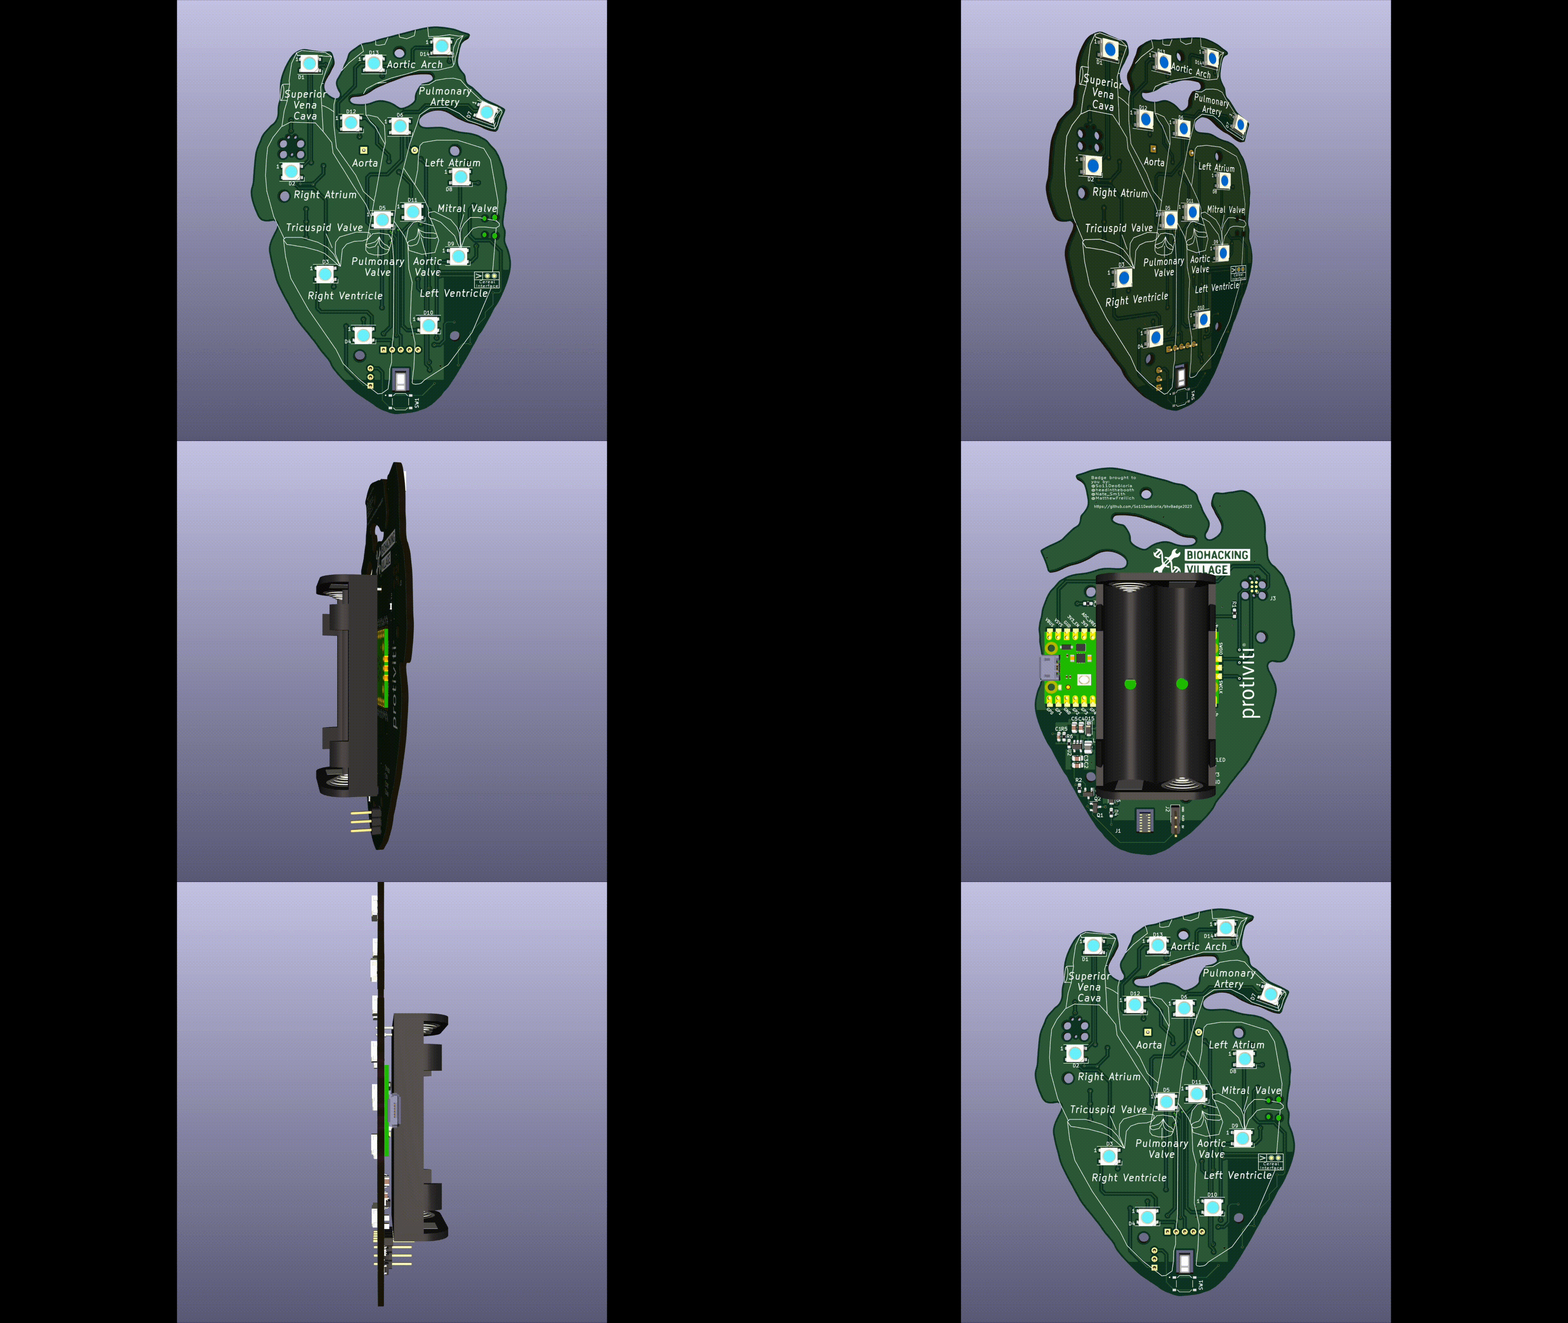
We Give You Our Heart
At the Biohacking Village, we have been creative and forward leaning, with badges geared toward the intersection of science and technology. We have had petri dishes, biometric watches, microfluidic devices, and RFID readers.
This year we worked on a 3D anatomical heart that emulates a human heartbeat in a realistic pumping manner. . . And there is a biometric element so the pumping action will emulate the user's heartbeat and when placed on the chest it sits in the mediastinum, making it an ideal badge.
Ideation: Nina Alli
Makers: Caleb Davis So11Deo6loria, Nathan Smith Nate_Sm1th and Mathew Freilich MathewFreilich


Thanks to the big brains at Protiviti:
Caleb Davis So11Deo6loria, Nathan Smith Nate_Sm1th and Mathew Freilich MathewFreilich for making this magic happen!
Associated Talk: Friday, August 11 at 1:20 PM PST
In this presentation we hope to enable other security professionals to tinker with badge development and give them tools and tricks to help facilitate their creativity. We think that understanding the process to create a working thing helps us all better understand where we can do things more securely and how to break things better. We will review the boring and unavoidable design questions that must be addressed, the exhilarating process of creating something that works well, and scaling up from a working prototype. We will demonstrate using real steps we took this year to make our badge for the Biohacking Village.
Eye of the Beholder: Citizen Science Microscope
This badge is a citizen science microscope! Use your phone to take ultra macro shots. Powered by a single cr2032 battery, you can use UV or white light to photograph samples up close. It also has a party mode!
Contains more gold than your average badge.
Thank you for this creation.
Ideation: Lee Cyborg LeeCyborg_
Makers: Kevin and Carl BadgePirates


A QUICK HOW TO
If you've obtained an Eye of the Beholder Badge at DefCon31 and you're eager to solder the Blinkie Lights onto it, you're in the right place. Here's a step-by-step guide to assist you.
First and foremost, gather your tools:
• Soldering Iron
• Solder
• Angle Cutters or Nippers
Begin by placing your badge face up on your worktable.
Retrieve all the Blinkie through-hole LEDs from the bag. Make sure you have all 7 of them.
Examine the LEDs closely to identify their correct orientation within the badge. Correct placement is crucial.
These 5mm through-hole LEDs have two key indicators for proper placement within the badge.
The first indicator is the shape of the diode itself. One side of the diode features a flat surface, which signifies the cathode or negative side. Align this side with the silk screen on the badge and insert the LEDs accordingly.
The second indicator is the length of the legs. One of the legs is longer than the other, indicating the cathode or negative side (the shorter leg).

Now that you've identified the correct orientation of the LEDs, carefully insert them into the badge. Ensure that the cathode side (shorter leg or flat side) aligns with the corresponding label on the back of the badge (facing downward). Insert each LED from the front so that they are visible on the badge's front side.
To prevent the LEDs from falling out, consider bending their legs slightly after insertion.

Once all LEDs are correctly placed and positioned, perform a quick check. If they're properly connected, they should illuminate when you turn on the badge.
It's time to fire up your soldering iron. Carefully solder the back of each LED's leg using your soldering tool and trim any excess leg length.
Looking for soldering tips check out this helpful link.


